Pergola Post Fixings

How To Fix Your Pergola To The Ground
So now we get down to the nitty-gritty: finding the right pergola post fixings to secure your structure to the ground.
Well, your choice might depend on where you are building. You have several choices.
If you have a patio surrounded by lawn, you have two choices: whether to install your posts on the patio itself or just outside it on the lawn, and then there will be different ways of securing the posts onto a patio and various methods of fixing them into the ground!
It can be a little confusing, but all will become clear later. The classic way was always to sink the timber posts straight into the ground in a concrete sleeve, sloping the concrete away from the post to help the water run away from the wood. These days, though, we tend to use post anchors, sometimes called metposts, to lift the wood safely out of the ground.
There are so many clever options now that do a really great job at stopping the rot before it starts! Whatever you decide, the main consideration is protecting the wood from water pooling around the posts and potentially rotting them.
Let's look at some pergola post fixings so that things become clearer.
5 Pergola Post Fixings To Chose From
Drive-In Spikes
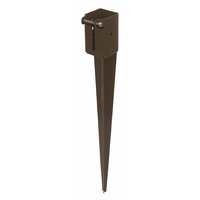
If you are putting your pergola straight into a lawn or earth bed, drive-in spikes are usually the quickest and cleanest way to get the job done.
You literally drive these heavy-duty steel shoes straight into the ground using a driving tool and a sledgehammer. No digging, no mixing concrete, and no waiting around for things to set— has got to be a bonus! One of my pergolas is fixed with drive-in spikes, and it has been solid as a rock for over 30 years now.
- Best used for: Soft to medium soil, flat ground, and small or medium-sized pergolas.
- Tip: If your garden is full of stubborn tree roots, heavy clay, any sort of stone or rock in the soil, driving a spike straight down can turn into a bit of a frustrating nightmare. However, if you would still like to use a drive-in spike for the convenience, but your ground does have stones, you can make a hole—perhaps with a crowbar—and dig out a bit of the way down, install the spike, and then very firmly stamp the soil back to hold it firm.
- Long-term stability,: Soil compacts very, very tightly over time. Once you have the structure all knitted together with your bolts and screws, it will hold the post firm while the surrounding earth settles into a solid grip.
- For larger, heavy-duty structures where you need ultimate wind resistance, you'll want to use pergola post fixings embedded in concrete.
Concrete-In Post Anchor
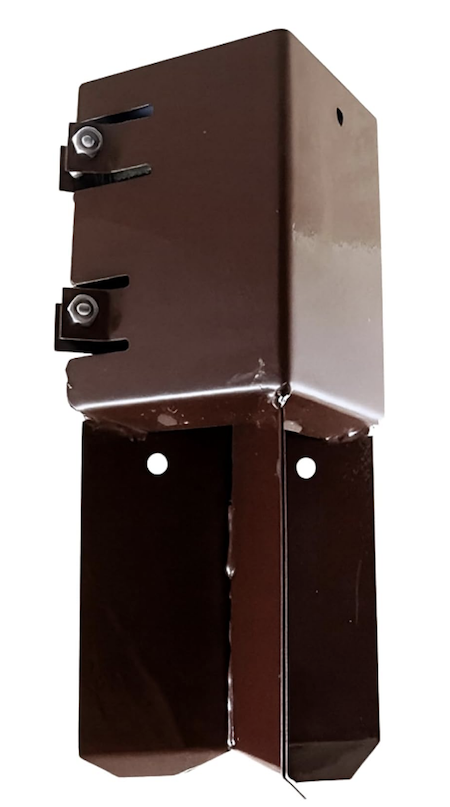
If your ground is too rocky, heavy with clay, or full of stubborn roots to drive a spike straight down, setting an anchor directly into concrete is the most secure way to go.
This is just one style of concrete-in post anchor, and while there are many designs that are more or less visible once installed, you can find plenty of examples and variations to suit your project.
Instead of relying purely on friction against the earth, you dig a secure hole, drop the post anchor in, and fill it with concrete to lock it permanently in place. It takes a bit more elbow grease and a day to set, but it gives you supreme stability and peace of mind for larger, heavy-duty structures.
- Best used for: Difficult soils (clay, stones, or roots), sloping ground where extra alignment control is needed, and larger or taller pergolas that require ultimate wind resistance.
- Tip: Make sure to position the metal shoe very slightly above the finished concrete level and slope the surface slightly away from the post. This ensures water drains right off rather than pooling around the base, keeping your timber dry and rot-free for years to come.
Bolt-Down Anchors
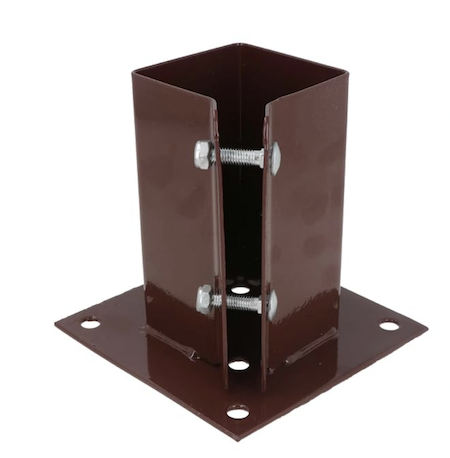
If you are building your pergola directly onto an existing concrete patio or a solid paved stone area, bolt-down anchors (sometimes called post shoes or bolt-down brackets) are the solution.
These sturdy metal brackets feature a flat square base plate with pre-drilled bolt holes. You simply stand the bracket where you want your post, mark your drill holes into the concrete or paving, secure it firmly using heavy-duty anchor bolts or sleeve anchors, and drop your timber post into the shoe. It gives you a rock-solid, incredibly neat connection without having to rip up your patio.
- Best used for: Existing concrete patios, solid paved stone surfaces, and areas where digging into the ground isn't an option.
- Building on decking: If you are building over timber decking, I would definitely not use a standard surface bolt-down anchor here. Instead, you want to attach your post directly down to the underlying decking joists for proper structural integrity or anchor them to the underlying ground using post anchors-or both.
- Tip: When using these anchors on concrete or stone, make sure the surface is completely flat and level before bolting them down. If the base has a slight slope or wobble, your post will lean from the start, making it much harder to keep your pergola square when you start putting up the roof beams!
Adjustable Post Anchors
More recently, adjustable post anchors have hit the market, and can be exceptionally useful if your pergola is being built on a slight slope or an uneven surface, or if you would like to raise the feet off the floor.
Here we can see the wonderful pergola Alan built on his patio using the raised adjustable post anchors. One thing's for sure, this pergola won't be getting its feet wet!
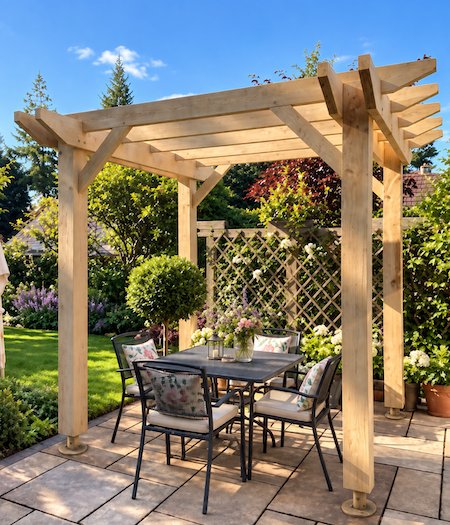
These clever brackets feature a threaded bolt or adjustment mechanism built into the shoe, allowing you to raise or lower the height of the metal bracket by a couple of inches even after it has been bolted down or set in concrete. It takes the absolute headache out of leveling your structure when nature refuses to cooperate.
- Best used for: Patios or bases with minor level discrepancies, and anyone who wants to take the sweat and guesswork out of getting every post perfectly even.
- Slopes vs. severe terrain: Use these adjustable post anchors for minor, inch-or-two corrections (like a patio drainage slope). For steep banks or major drops, standard adjustable shoes won't cut it—you will need heavy-duty, long-stemmed stilt shoes instead.
- Tip: You should be fine attaching a pergola of around 3m with these. Check your manufacturer's weight and load ratings when using adjustable height shoes, as the extended threaded bolt can sometimes reduce lateral load capacity compared to a solid, fixed-height bracket.
Classic Concrete-In
This method provides a traditional, seamless look with no visible pergola post fixings, metal brackets or shoes at ground level by sinking timber posts directly into a hole filled with post-mix concrete.
Depth and stability: Dig your post hole to the required depth, around two feet or deeper depending on your frost line and pergola height, brace the timber plumb and level, and pour quick-setting concrete straight into the hole around the wood for incredible stability and a clean, seamless look.
- Best used for: Unpaved soil, lawns, garden beds, and anyone wanting a traditional, natural look without metal brackets showing at the base.
- The rot warning: Because timber is sitting directly in wet concrete and soil, wood rot is the main enemy here.
- Protection methods: Use pressure-treated timber, and where the post will be underground, use:
1. A bitumen-free damp-proof coating
2. A damp proof membrane (DPM)
3. A post sleeve barrier to extend its lifespan.
Now that your foundation is secure, explore other useful information guides to find the right dimensions and specifications for your build:
Next Steps For Your Build

Choose the correct size and timber for your pergola posts to achieve the style you dream of, use paint to enhance features for a stunning effect and add purlins for beautiful shade.
Size matters, and when it comes to the structure, pergola beam spans are critical to ensure your pergola remains completely safe and sag-free.
Have you come across the 18 free rafter tail templates? Create a unique and beautiful pergola canopy over which you will be able to grow the most beautiful climbing plants.
Ready to Build? Find Your Perfect Pergola Plan
Now it's time for the fun part! Explore the complete collection of both free and featured wooden pergola plans to discover gorgeous, creative styles and, in a very short time, you'll be bringing your dream garden to life!
Recent Articles


-
DIY Pergola Pictures: Real Pergolas Built From The Plans
Sep 08, 26 04:07 AM
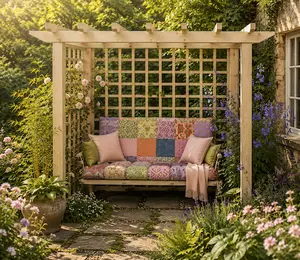 Real people, real gardens, real results. See how people have 'styled it out' and built their own DIY pergolas from the plans.
 -
Fantastic Pergola Offers
Sep 06, 26 08:21 AM
 Exploring fantastic pergola offers, garden bargains and exclusive voucher codes can mean big savings and there are some great ones this month! Take a look.....
 -
Pergola Columns
Aug 24, 26 08:55 AM
 Classical stone pergola columns can transform a garden into something truly special. Find ideas and where to buy them here...
 Subscribe To My Blog Posts


Advertising Links
This page may contain advertising links earning a small commission, at no extra cost to you. It is my hope these links will help you to make informed and creative choices.
Love Gardening! Ezine
Join the 'Love Gardening!' Ezine and receive garden and landscaping tips, exclusive voucher codes and updates to the website. More...
Recently Released
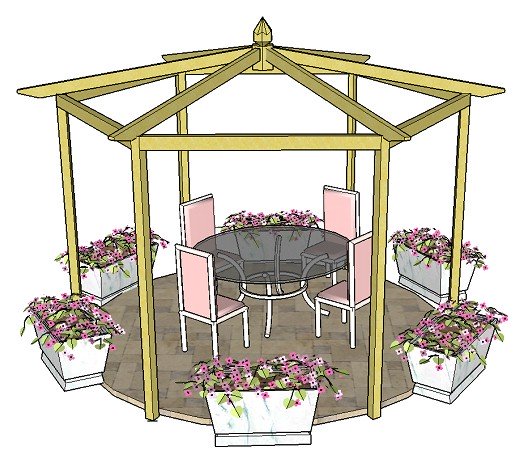
Pitched Roof Hexagonal Pergola
Other
Pergola Plans
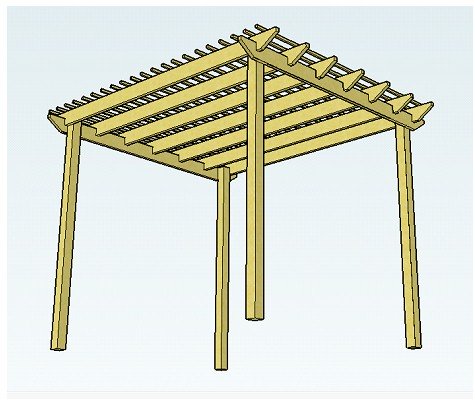
Free Simple Pergola Plans
Attached Lean-to Pergola
Free Raised Bed Plans
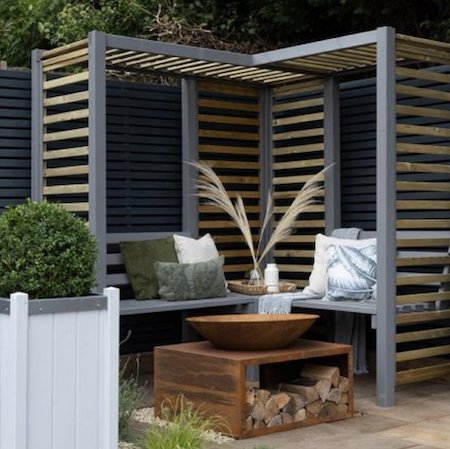
Corner Pergola
Hexagonal Pergola
Asian Pergola
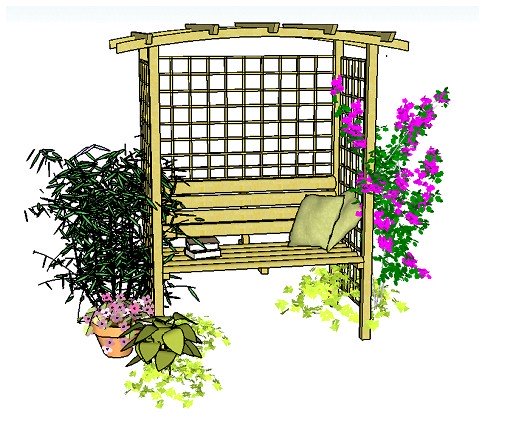
Seated Arbour
"The plans were great, very concise,ouldn't have managed without them!" T.
“Well done for a really useful site!” Mike.
Love the templates for the Rafter Tails! Using Design #5. Thanks so much." Laura.
"I love your website! Your entire site is incredible. I was able to get ideas for my pergola, which looks fantastic." Wayne.
Great service. Now all I have to do is build it! Martin.
"Your plans look amazingly comprehensive. I see you are intending putting the plans for the corner pergola on this fabulous site. Could you please tell me when the corner pergola plans will be available to purchase...yours is the nicest design I have seen!" Michelle.
Plants and Seed Offers
Pergola Kit and Accessories Offers
£340 off


Sales & Offers
Beautiful 'Gainsborough' gazebo
Save £204!
See my 'Fantastic Offers' page for more bargains on pergola kits, tools and all things gardening!