Contemporary Concrete and Metal Raised Beds
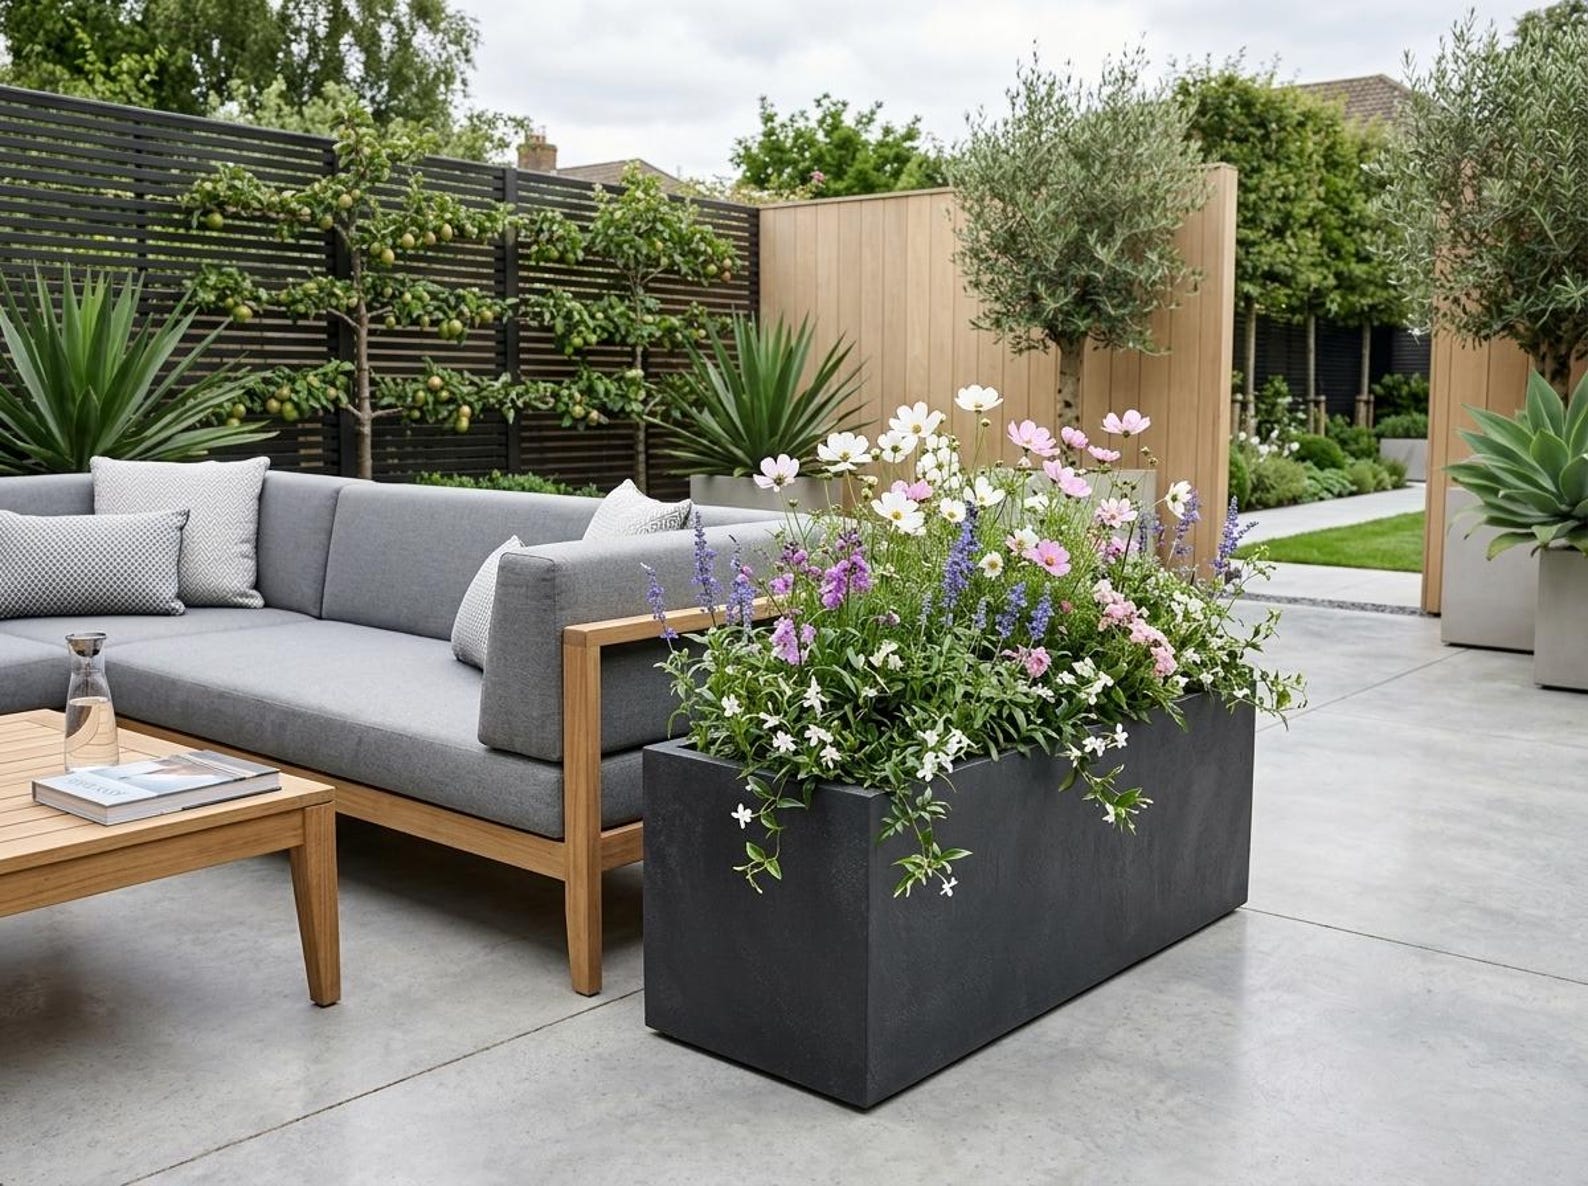
These sleek looking concrete, fibrestone and metal raised beds have just added an extra dimension to garden design. I love them!
For many years now, the traditional material for building raised beds has been wood, but now we have some beautifully designed concrete and metal very modern looking contemporary raised beds to lend an understated sense of style to any garden. Some, being powder coated, require very little maintenance. Always a bonus!
The metal and concrete planters sit just as well in a traditional setting. How beautiful is this?

All come in different sizes and in different heights, the possibilities for vegetable and flower displays, architectural planting and water features creation are amazing. They have done a really good job with these planters.
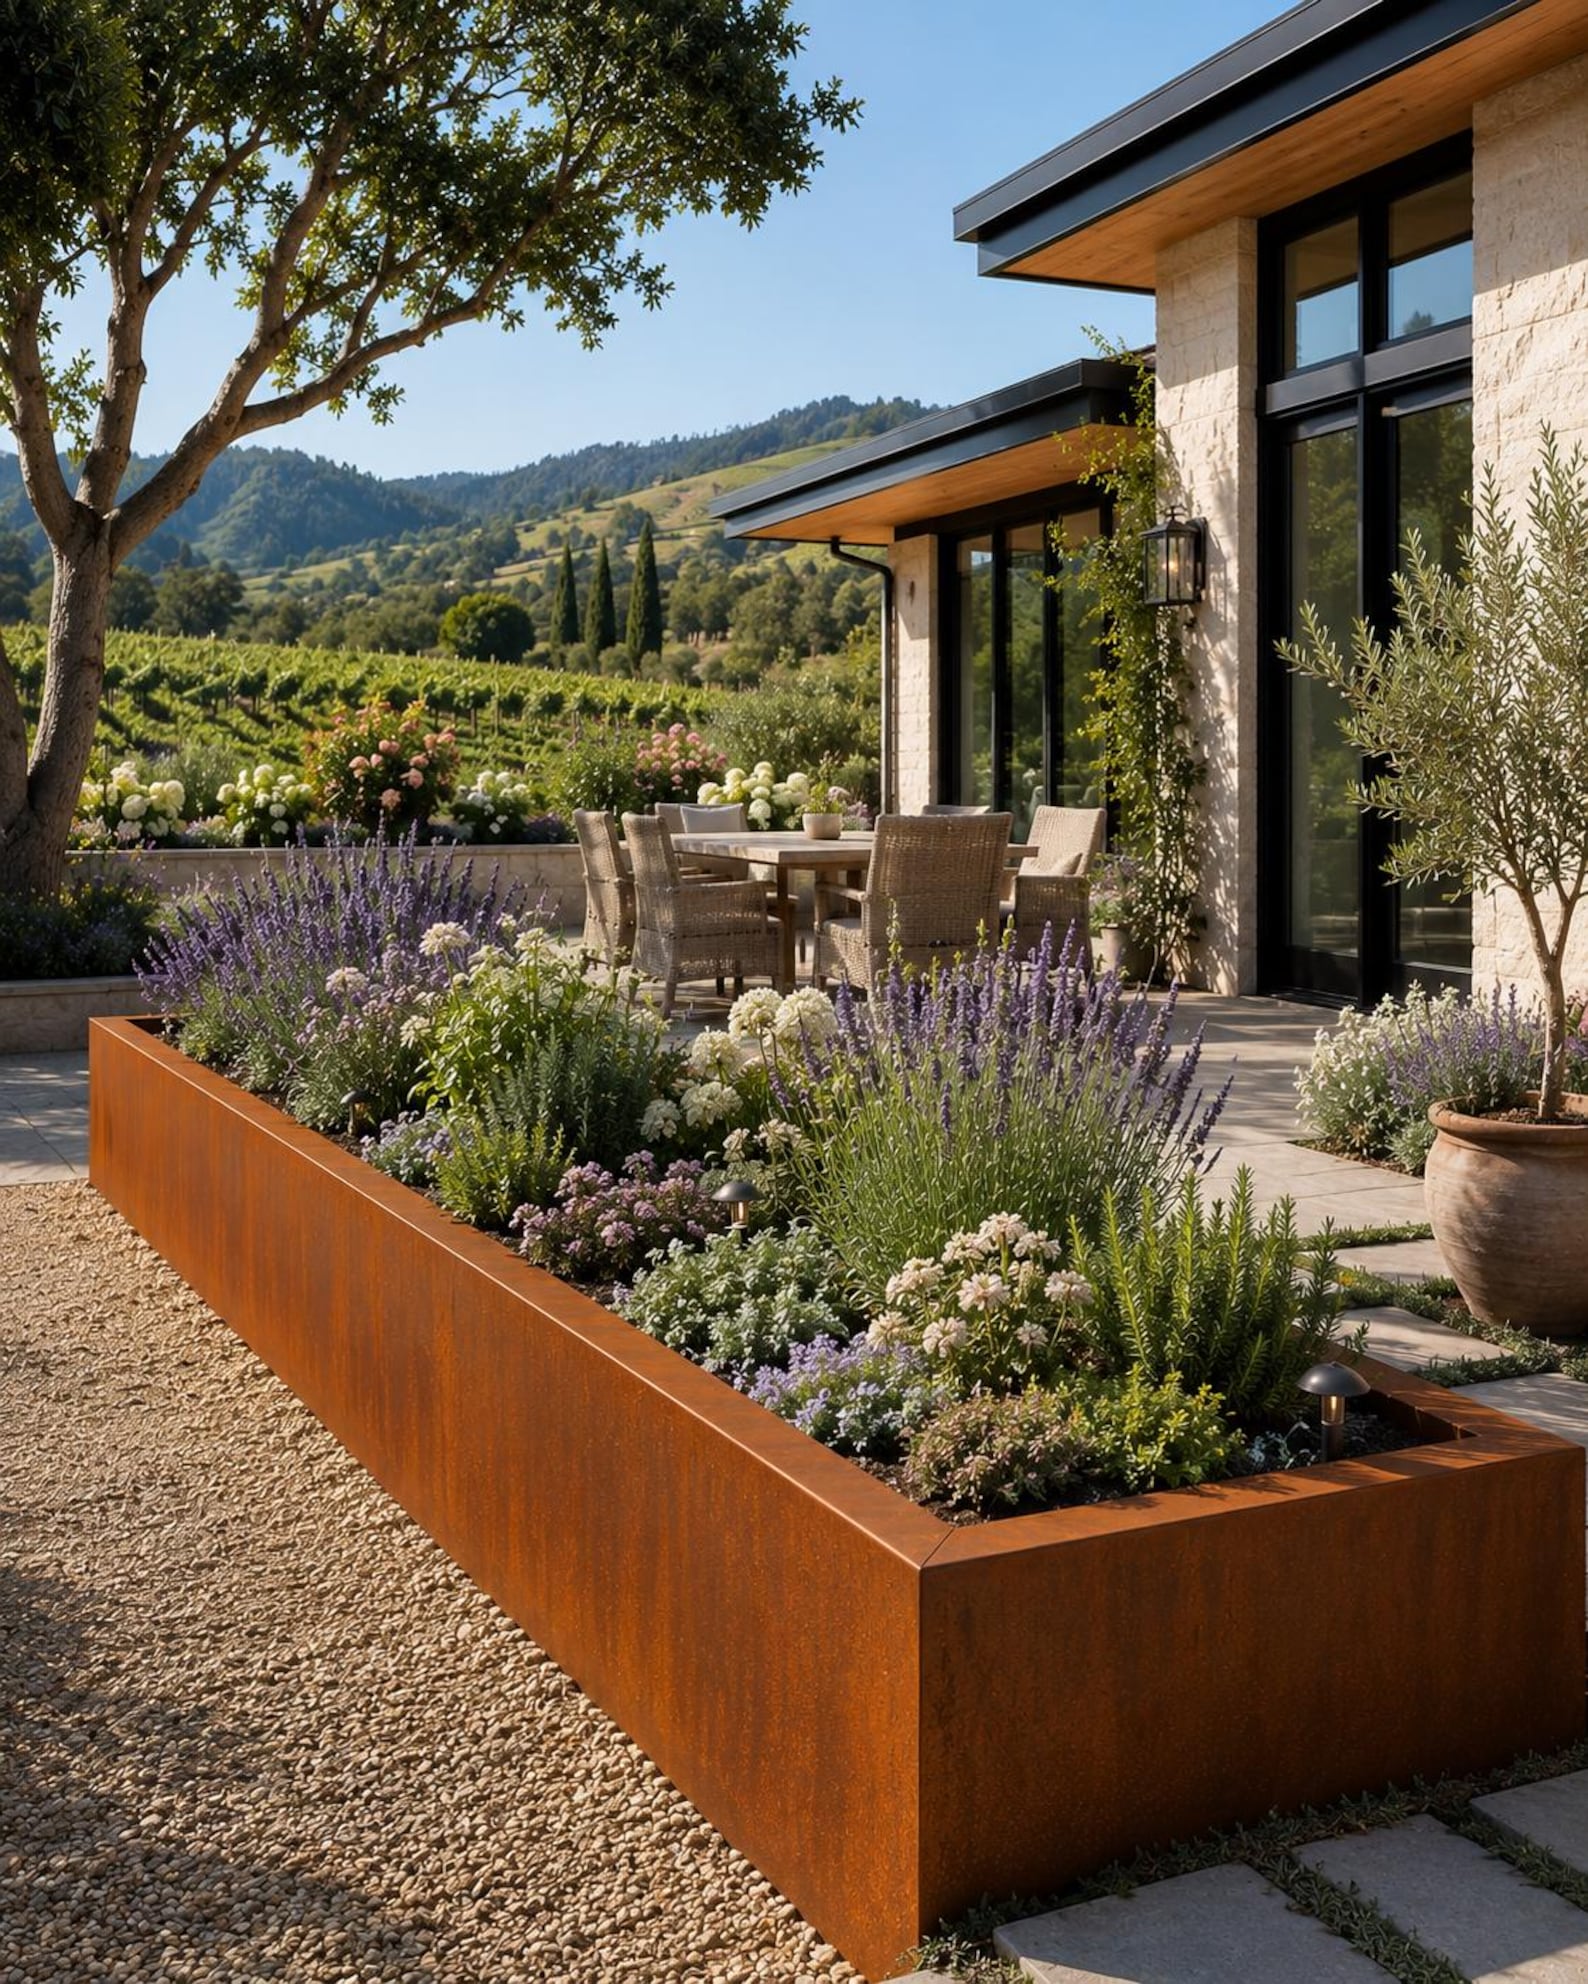
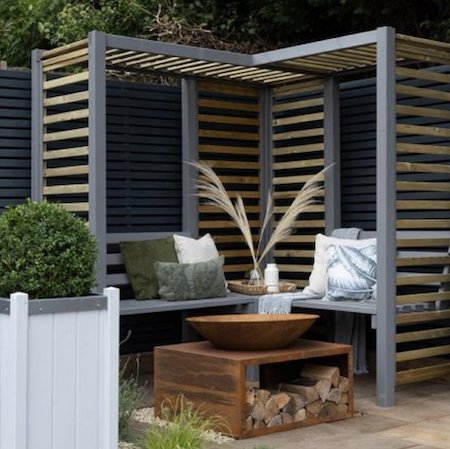
Here's one that is the self-rusting type. It turns into this amazing orange colour once rusted. There are so many gorgeous ones to be found in all shapes and sizes.
How gorgeous this one looks in it's simplicity! Neutral colours – anthracite, white, with wood look so amazing.
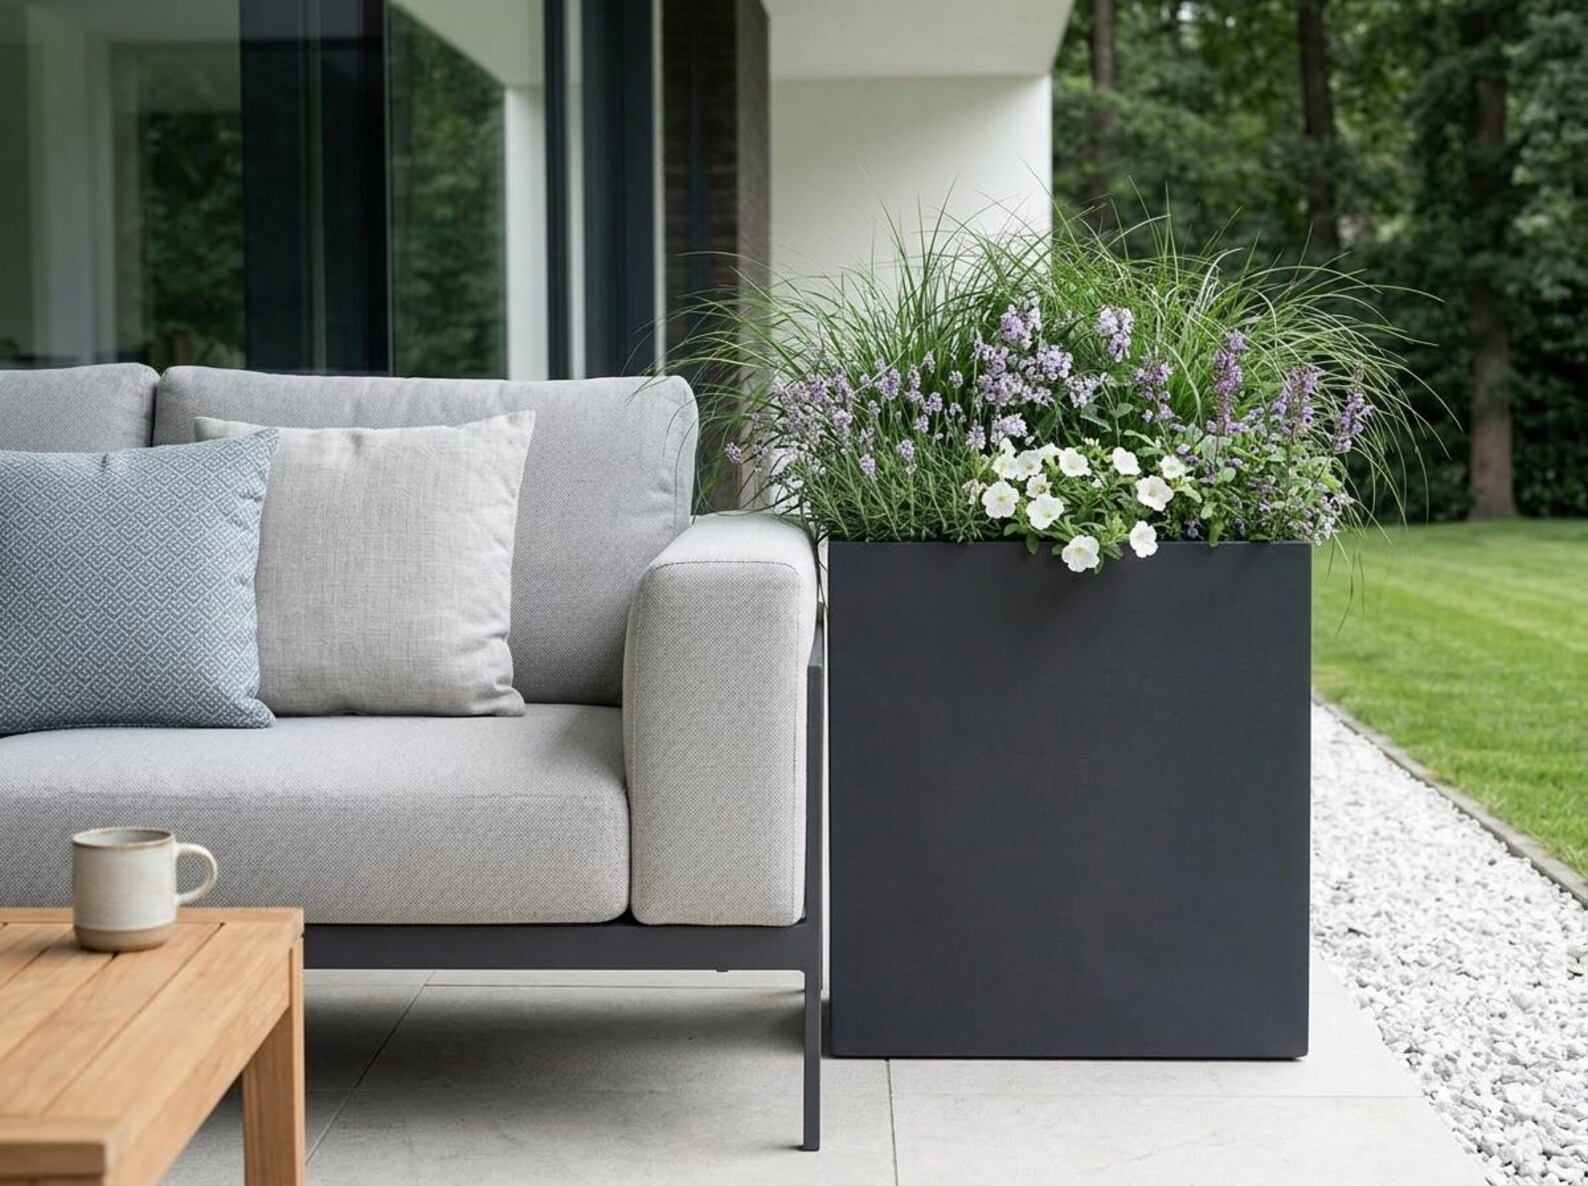
Colours and Sizes
The good thing about all of these raised beds is the fact that they not only come in different sizes, but also in different colours. This means that you can easily make them fit into your garden design.
Just as an example, these are a real statement piece.
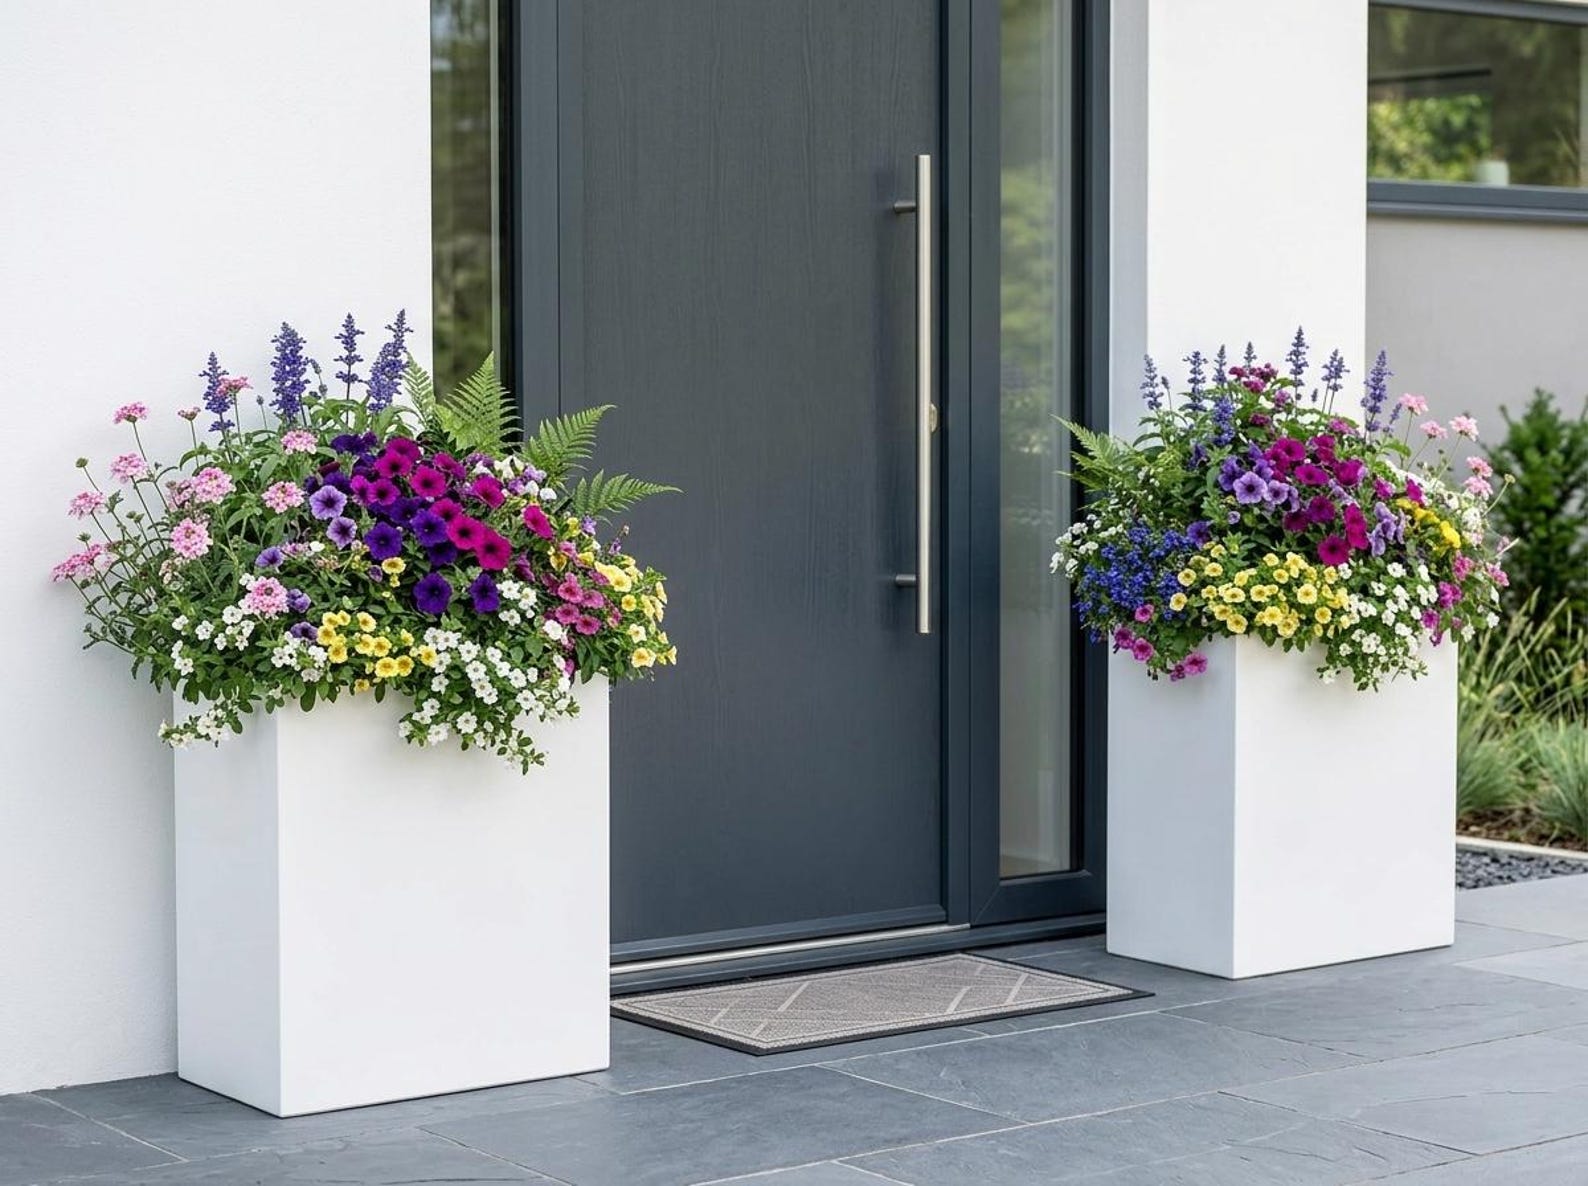
You will be able to find so many different types, styles and colours here, you're sure to find the one you want.
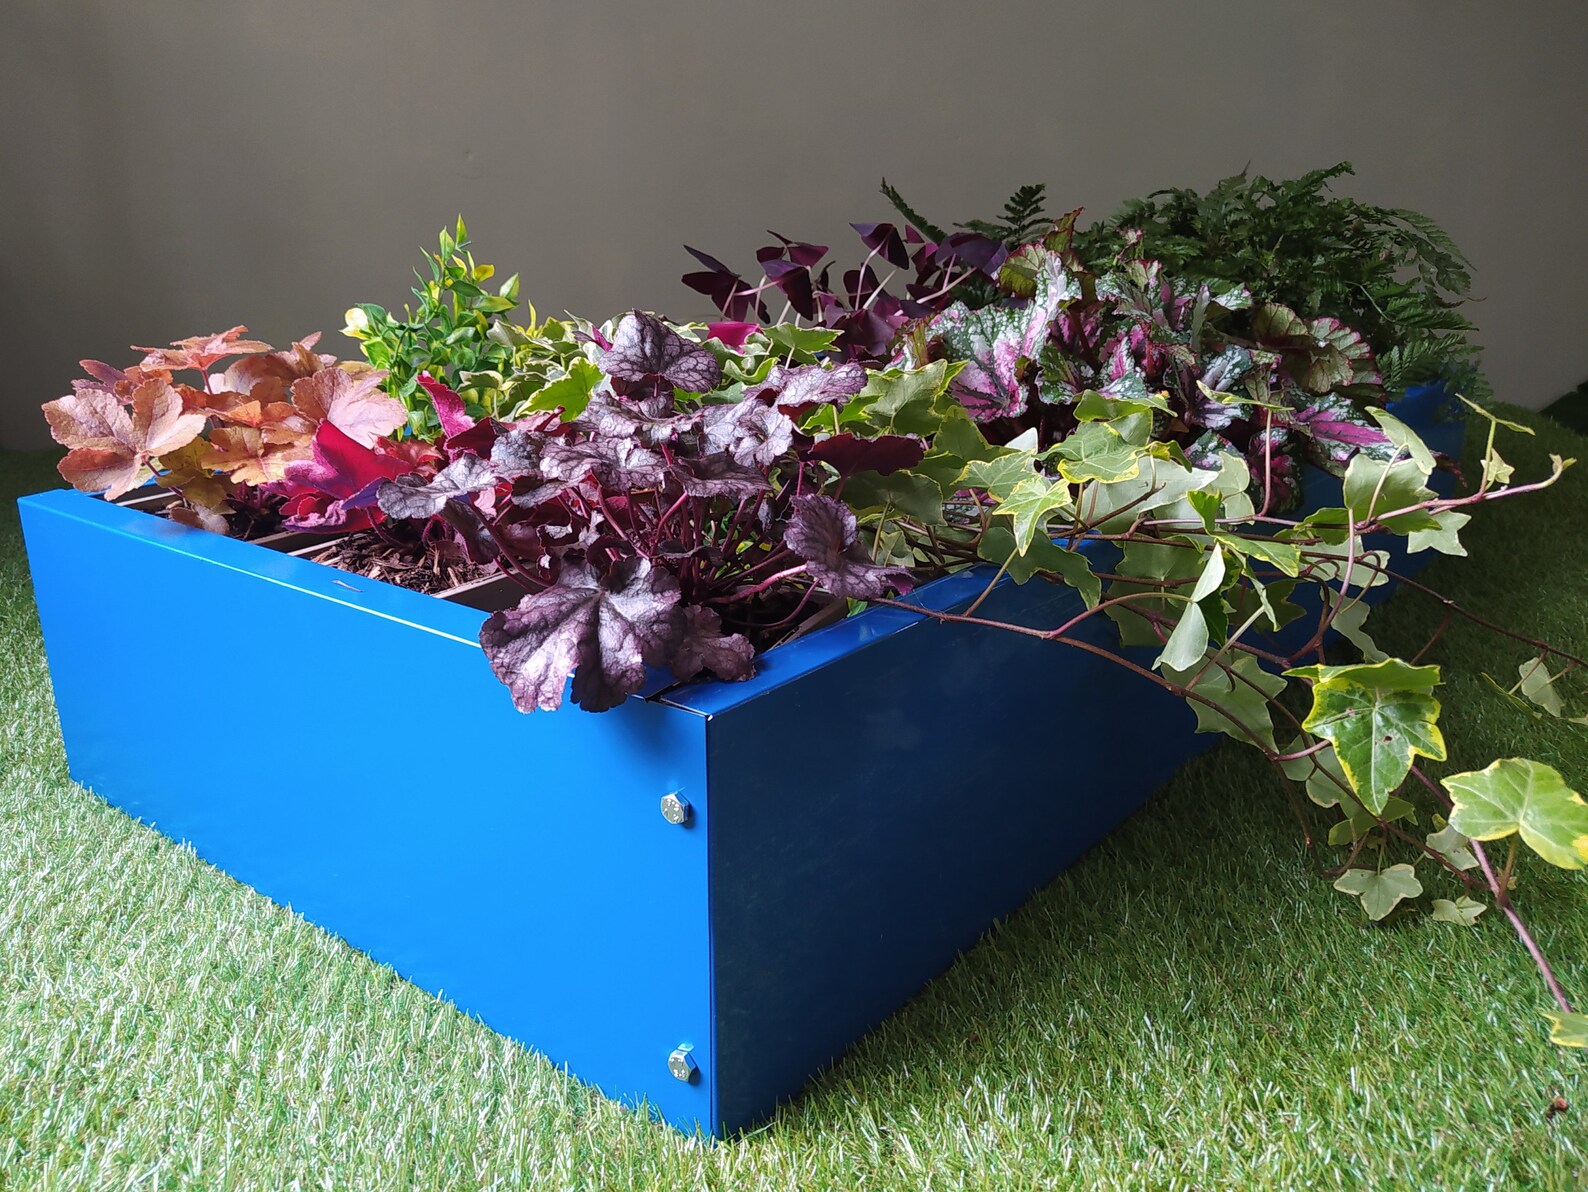
There are also more colourful metal raised beds – blue, red, green, white, rusty colours (which can look really stunning) and many more.
Hot Tip:
If you'd like to find a particular colour, just put it in the search box, for example, 'red raised bed'.
Liners
Some of the metal raised beds come with an optional liner for plants and vegetables. Alternatively, make a liner from geotextile fabric that will let the water drain through.
...or if you line it with pond liner, or a liner that is non-porous, your raised bed can then act as a water feature!
What an amazingly beautiful feature it will make either way!
Were you thinking of taking a look at some pond liners and accessories? This is a good place to start.

Here's some steps to help you line your raised bed planter...
Step-by-Step Lining Guide
1. Measure and cut the liner.
Allow 5–10 cm extra on all sides.
Unroll your lining material over the top of the trough. Push it down into the corners and along the bottom bed so it fits snug against the inner walls. Leave a generous overlap over the top edges for now — you'll trim it later.
2. Fasten the liner in place working from the centre outwards.
Secure the liner along the top interior edge using whatever you like – a few stones or bricks or some very sticky tape just while you get everything into place. Tuck neat hospital corners at the ends to keep the fabric flush against the sides without bunching up.
3. Poke drainage holes (if using plastic non-porous lining material) which is crucial for root health. (Skip this step if using porous geotextile landscape fabric).
If you used plastic sheeting, push your finger or scissor tips through the liner right where the trough's drainage holes are located. Make 3–5 small slits per meter of trough length to ensure water doesn't pool at the bottom. .
4. Add a drainage base layer. I would highly recommend this.
Add a 2–3 cm layer of broken terracotta pot pieces (crocks) or broken crockery (old dishes and plates come in very handy!) at the bottom to stop soil from clogging the drainage holes. Avoid using gravel at the bottom, as this can form a concrete-like sludge and will not be good for the roots of the plants.
5. Fill the raised bed planter with a mixture of good compost, well-rotted manure or topsoil and some sort of aerating material, such as horticultural grit or vermiculite for lightening soil without sacrificing moisture levels, so that the soil doesn't become compacted.
6. Water and leave for a while to let everything settle, and then cut the liner using a sharp utility knife or heavy-duty scissors to trim the excess liner neat and flush, or leave enough to tuck under the inside edges of the container just below the top rim of the planter, so it stays hidden once filled with compost.
Hot Tip:
If building or using a large wooden trough planter outdoors, ensure the underside has feet or risers (5–10 mm clearance off the ground) so drainage water can escape freely rather than soaking back into the base.
Planting
Because the concrete and metal raised beds have a contemporary feel, architectural planting looks fabulous against the smooth, flat, neutral-coloured surface.
These beds particularly lend themselves to bold forms and contrasting foliage when used in this way. There is huge potential for making a stunningly dramatic display.
Mix and match sizes and colours, if you wish.
Use them in a vegetable patch, on a patio or next to your newly built pergola.
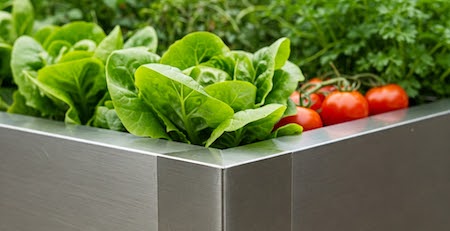
I'm sure these lovely raised beds will help to make your garden a very special place!
Have you chosen yours yet? Let me know when you have and send pictures!
Recent Articles


-
DIY Pergola Pictures: Real Pergolas Built From The Plans
Sep 08, 26 04:07 AM
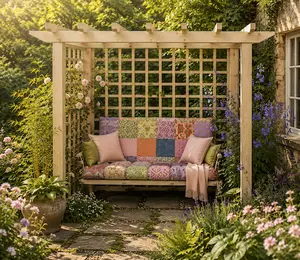 Real people, real gardens, real results. See how people have 'styled it out' and built their own DIY pergolas from the plans.
 -
Fantastic Pergola Offers
Sep 06, 26 08:21 AM
 Exploring fantastic pergola offers, garden bargains and exclusive voucher codes can mean big savings and there are some great ones this month! Take a look.....
 -
Pergola Columns
Aug 24, 26 08:55 AM
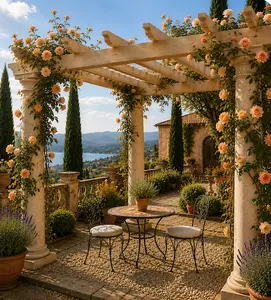 Classical stone pergola columns can transform a garden into something truly special. Find ideas and where to buy them here...
 Subscribe To My Blog Posts


Advertising Links
This page may contain advertising links earning a small commission, at no extra cost to you. It is my hope these links will help you to make informed and creative choices.
Love Gardening! Ezine
Join the 'Love Gardening!' Ezine and receive garden and landscaping tips, exclusive voucher codes and updates to the website. More...
Recently Released
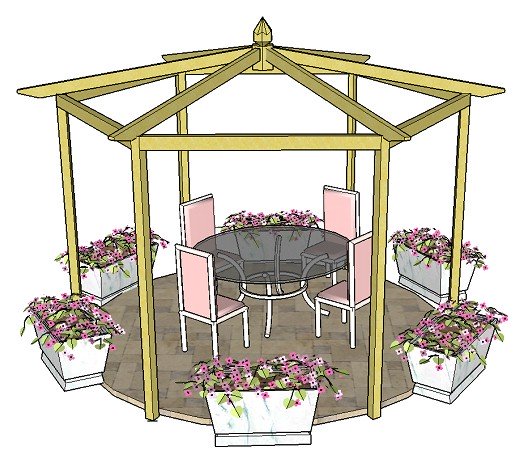
Pitched Roof Hexagonal Pergola
Other
Pergola Plans
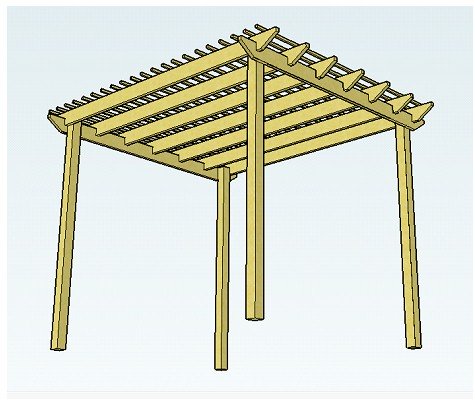
Free Simple Pergola Plans
Attached Lean-to Pergola
Free Raised Bed Plans
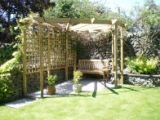
Corner Pergola
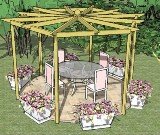
Hexagonal Pergola
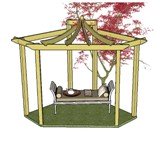
Asian Pergola
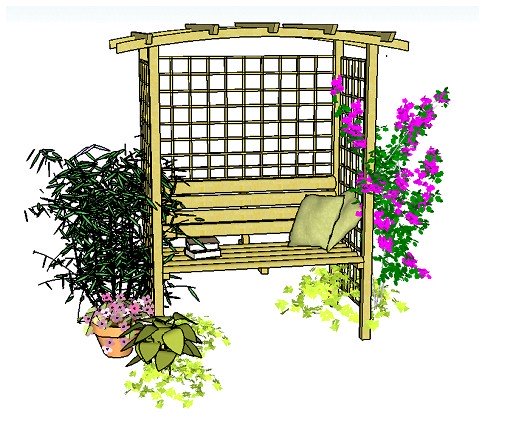
Seated Arbour
"The plans were great, very concise,ouldn't have managed without them!" T.
“Well done for a really useful site!” Mike.
Love the templates for the Rafter Tails! Using Design #5. Thanks so much." Laura.
"I love your website! Your entire site is incredible. I was able to get ideas for my pergola, which looks fantastic." Wayne.
Great service. Now all I have to do is build it! Martin.
"Your plans look amazingly comprehensive. I see you are intending putting the plans for the corner pergola on this fabulous site. Could you please tell me when the corner pergola plans will be available to purchase...yours is the nicest design I have seen!" Michelle.
Plants and Seed Offers
Pergola Kit and Accessories Offers
£340 off


Sales & Offers
Beautiful 'Gainsborough' gazebo
Save £204!
See my 'Fantastic Offers' page for more bargains on pergola kits, tools and all things gardening!