Rafter Tail Template Modifications
Can I make my pergola rafter tail template fit 8" or 10" deep rafters?

Question: how to make rafter tail template modifications:
What you have on this site is so great! Thank you!
I am building mine with two sides that have 2x8 main beams and the other side with 2x6 main beams. Your tail templates cover 2x6 and 2x4...do you have them set up for a 2x8 board?
The reason I don't have deeper rafter tail templates is because they won't fit on the printable area of an A4 sheet, making it almost impossible for me to size them accurately.
However, I've had several visitors to the website asking the same question so have decided to put this on the pergola questions page!
Did the adjustments very quickly on my computer desk to enable you to access this help straight away, so please excuse the quality of the pictures! Even so, it shows clearly how straightforward it is to make rafter tail template modifications, and also how I do things very quickly when I have to make adjustments for clients 'on the hoof', so to speak.
Let's take a look then...
Step 1
This is the A4 sheet of paper I'm using to make the 6" rafter tail into an 8" rafter tail. You can also use this method to create a 10" rafter tail template, only you'll need a larger sheet of paper.
Mark 10" from the right hand edge of the paper and draw 8" down.

Step 2
Draw a line across the bottom, mark 1" down from the top edge (this is to maintain the correct proportions), cut out the 6" rafter tail template you have chosen to use (this one is Design 5), and then place this so that the right hand edge is lined up with the right hand edge of the paper.

Step 3
All you need to do now is draw the curve on the underside of the template and extend it down to the bottom line. I did this free hand. It was reasonably easy to do, as the distance to the bottom line wasn't very far.
Doing this will extend the bottom horizontal measurement to 3".

Step 4
Here we have the 8" rafter tail template.
Now you'll need to decide if the template, as a whole, is long enough. I prefer a shorter rafter tail, but feel that this, nevertheless, may be even a little short for this depth of rafter.
All that needs to be done is to extend the 8" vertical line to the left, making it 12" or even 14" long (from the right side edge).

Test It Out
Test your rafter tail template modifications out on a scrap piece of wood, or even a piece of cardboard. Place the template at right angles to your beam, or another rafter, to get the feel of what it will look like.
You may decide that you would prefer to place the 6" template only 1/2" down from the top, making the bottom curve longer. Take a little time to try things out; it will pay dividends in terms of the end appearance, as the rafter tail ends really to make a big difference to a pergola.
When you're happy with it, mark your rafters, cut and install!

Recent Articles
-
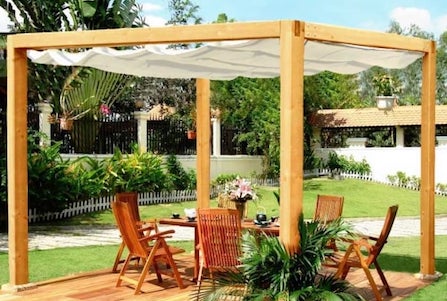
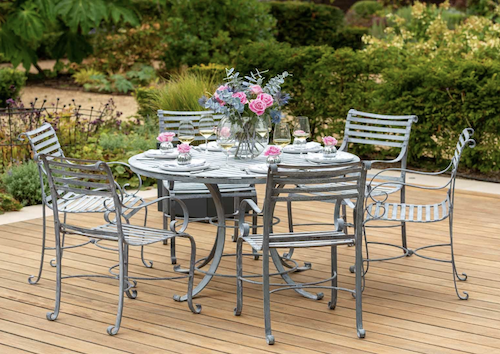
Garden Furniture Products
Apr 24, 24 11:23 AM
 Cool and contemporary or fun and funky. Ideas for using garden furniture products to enhance your outdoor living space.
 -
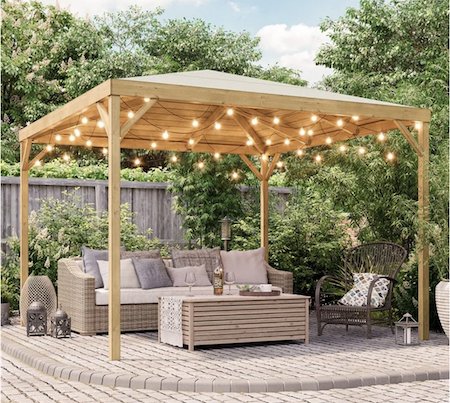
Fantastic Pergola Offers
Mar 06, 24 08:47 AM
 Here are the latest updated garden bargains and voucher codes. Finding fantastic pergola offers and gardening discounts can mean big savings!
 -
Pergola Swing Bench
Feb 17, 24 08:17 AM
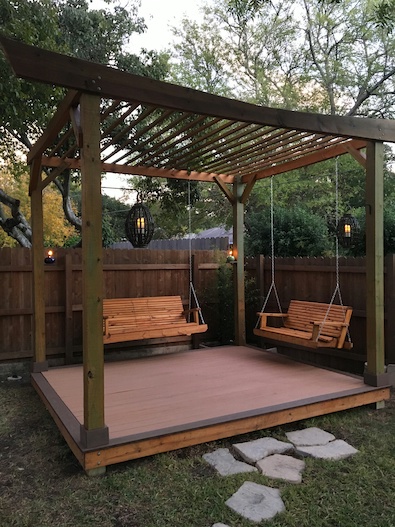 Brian asked how to build an hexagonal pergola with a swing bench. Any pergola style can have a cosy and romantic hanging bench adorning its rafters. Get ideas here....
 Subscribe To My Blog Posts


Advertising Links
This page may contain advertising links earning a small commission, at no cost to you. It is my hope these links will help you to make informed and creative choices.
Love Gardening! Ezine
Join the 'Love Gardening!' Ezine and receive garden and landscaping tips, exclusive voucher codes and updates to the website. More...
Recently Released

Pitched Roof Hexagonal Pergola
Other
Pergola Plans

Free Simple Pergola Plans

Attached Lean-to Pergola

Free Raised Bed Plans

Corner Pergola

Hexagonal Pergola

Asian Pergola

Seated Arbour
"The plans were great, very concise, easy to follow and I couldn't have managed without them!" T.
“Well done for a really useful site!” Mike.
Love the templates for the Rafter Tails! Using Design #5. Thanks so much." Laura.
"I love your website! Your entire site is incredible. I was able to get ideas for my pergola, which looks fantastic." Wayne.
Great service. Now all I have to do is build it! Martin.
"Your plans look amazingly comprehensive. I see you are intending putting the plans for the corner pergola on this fabulous site. Could you please tell me when the corner pergola plans will be available to purchase...yours is the nicest design I have seen!" Michelle.
Plants and Seeds
Pergola Kits and Accessories


Grow Your Own

Sales & Offers
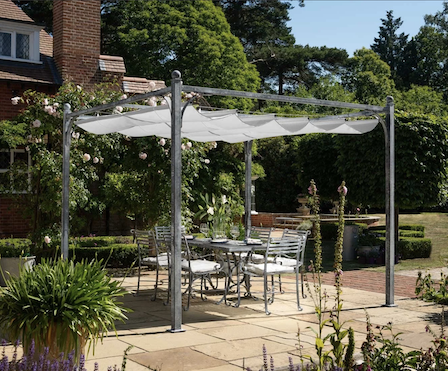
Beautiful 'Gainsborough' gazebo
Save £204!


See the 'Fantastic Offers' page for more bargains on pergola kits, tools and all things gardening!